
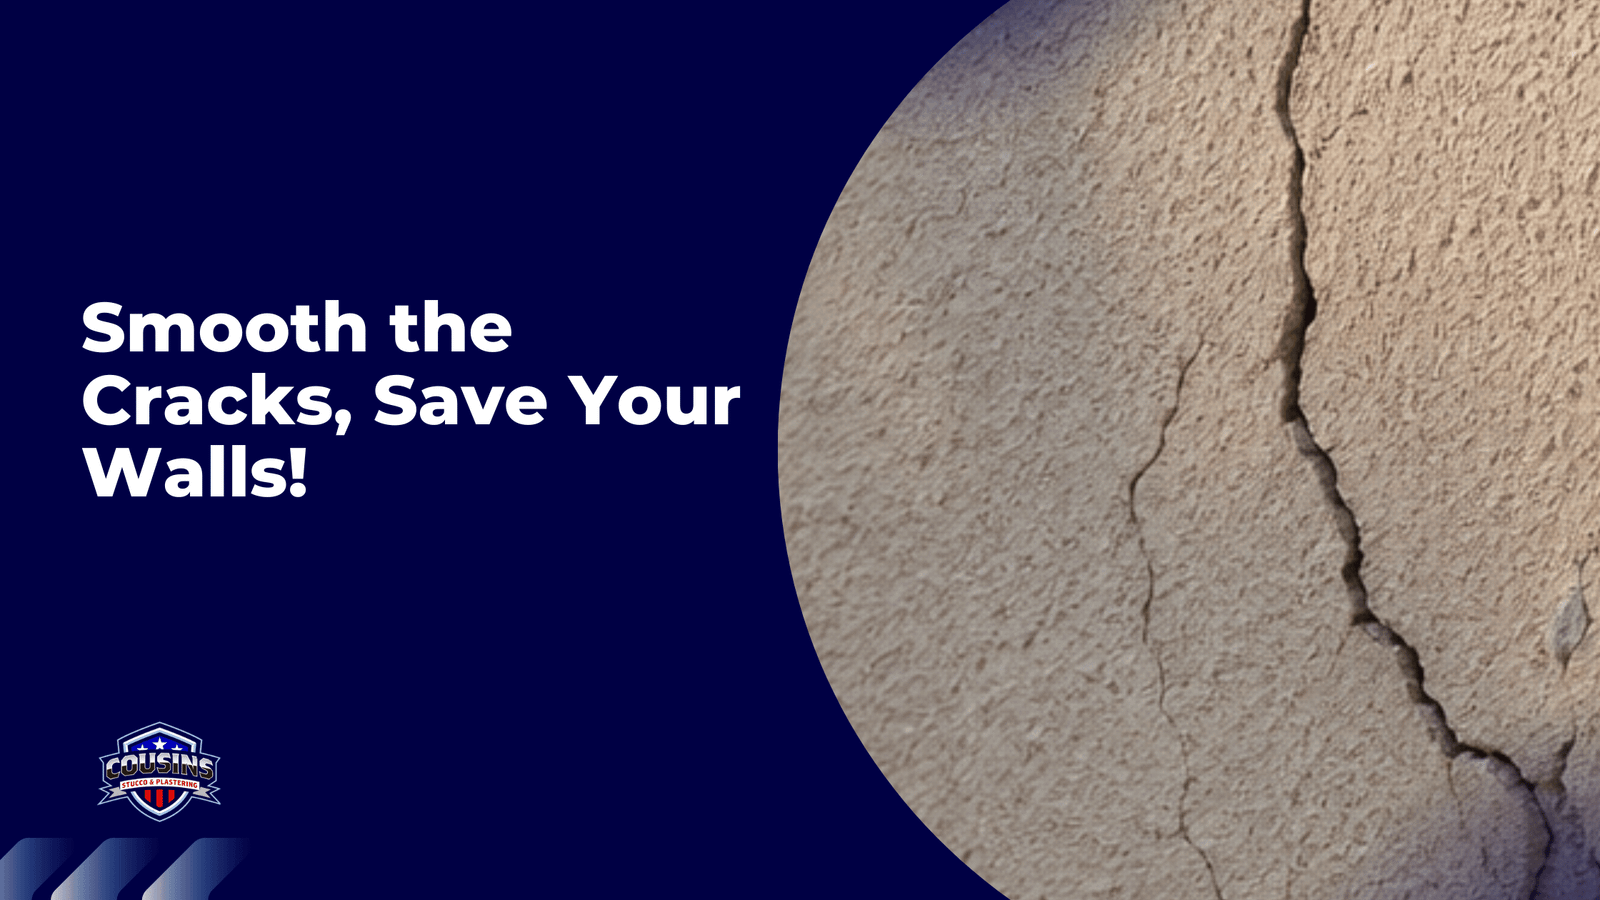
Stucco is tough. It handles heat, moisture, and the occasional Florida storm without complaint — right up until it doesn’t. Cracks appear. Chunks fall out. Water sneaks in behind the surface and the damage spreads faster than you’d expect. If you’ve noticed a problem spot on your exterior walls, patching it sooner rather than later is one of the smartest things you can do for your home.
This guide walks you through exactly how to patch stucco, from reading the damage correctly to finishing the surface so it blends with what’s already there. Whether you’re dealing with a hairline crack or a fist-sized hole, you’ll know what to do by the time you finish reading.
First, Understand What You’re Actually Looking At
Not all stucco damage is the same, and treating it like it is will get you into trouble. Before you grab a trowel, spend a few minutes assessing what’s in front of you.
Hairline cracks are the most common. These are surface-level fractures, usually less than 1/16 of an inch wide. They often show up after a building settles or after a dramatic temperature swing. In Southwest Florida, thermal cycling between cool nights and scorching afternoons is a regular culprit.
Structural cracks are wider, often diagonal, and can signal something more serious going on with the framing or foundation underneath. If a crack runs diagonally from a corner of a window or door frame, that’s worth investigating before you patch anything.
Impact damage leaves a specific kind of crater — the stucco breaks away cleanly and you can often see the metal lath or substrate beneath. This is straightforward to repair but requires the right layering approach.
Water damage is the sneaky one. Stucco that’s bubbling, soft to the touch, or has a hollow sound when you tap it has likely had water sitting behind it. That moisture creates mold, rots sheathing, and compromises the lath. You can’t just skim over that. You need to address the moisture source first. If water is entering around a window or door, window leak stucco repair is a specific process that goes well beyond surface patching.
What You’ll Need Before You Start
Gathering materials before you begin saves you from stopping mid-job with wet mortar drying on your tools.
- Pre-mixed stucco patch compound or dry-mix stucco
- Bonding agent (liquid bonding adhesive)
- Wire lath or metal mesh (for larger holes)
- Tin snips
- Cold chisel and hammer (or an angle grinder)
- Wire brush or stiff bristle brush
- Margin trowel and finish trowel
- Mixing bucket and paddle mixer (or drill attachment)
- Spray bottle with water
- Painter’s tape
- Safety glasses and gloves
For minor cracks, a pre-mixed elastomeric patching compound works well and requires minimal prep. For larger repairs involving missing or damaged sections, you’ll need to work in layers the same way the original stucco was applied.
Step-by-Step: How to Patch Stucco the Right Way
Step 1 — Cut Back the Damaged Area
Don’t try to patch over loose or compromised stucco. It won’t hold. Use a cold chisel and hammer to chip away everything that isn’t solidly adhered to the substrate. Tap along the edges and listen for a hollow sound — wherever it sounds hollow, that material needs to go.
Use a wire brush to scrub out the cavity once the loose stucco is removed. You want to get down to clean, solid material on all sides. If you’re working near windows, doors, or utility penetrations, take extra care to check the condition of the surrounding area.
If you expose metal lath that’s rusted or damaged, cut it out with tin snips and staple or nail new lath into the opening. The patch needs something structural to grip onto.
Step 2 — Clean the Surface
Use your wire brush again to clean the perimeter of the patch area. Blow out any dust or loose debris with compressed air or a soft brush. For a patch to bond correctly, the existing stucco surface needs to be clean and slightly rough — not dusty, oily, or glazed over.
Lightly dampen the repair area with your spray bottle. The existing stucco will absorb moisture from your new mix if it’s bone dry, which causes the patch to cure too fast and crack.
Step 3 — Apply Bonding Agent
This step gets skipped more than it should be, and it’s one of the main reasons patches fail and fall out months later.
Brush a coat of liquid bonding agent onto all the interior surfaces of the repair area. Let it become tacky — usually 15 to 30 minutes depending on temperature and humidity. In Southwest Florida’s heat, that process moves fast, so don’t wander off.
Step 4 — Mix Your Stucco
If you’re using a dry-mix product, follow the manufacturer’s ratio for water. You want a consistency that’s firm enough to stay on a vertical surface without slumping, but workable enough to press into the repair without air pockets forming behind it.
Mix thoroughly. Dry pockets in the mix will create weak spots in the finished patch. Give it a full 3 to 5 minutes of blending.
Step 5 — Apply the Base Coat (Scratch Coat) for Larger Repairs
For holes larger than about 4 inches or deeper than 3/8 of an inch, you’ll apply the patch in two or three coats rather than one thick layer. This mimics the original three-coat stucco system and prevents shrinkage cracks.
Press the first coat (scratch coat) firmly into the opening with your margin trowel, packing it tight against the lath. Build it up to about 3/8 inch thick. Before it sets, use a notched tool or the edge of your trowel to score horizontal grooves across the surface. These scratches give the next coat something to grip.
Let the scratch coat cure for 24 to 48 hours. Mist it lightly with water once or twice during that window to slow down the cure — rapid drying leads to cracking.
Step 6 — Apply the Brown Coat
The brown coat fills the repair area to just below flush with the surrounding wall. Press it firmly into the scratch coat, work it flat, and level it with a straight edge or the edge of your trowel. This coat should bring you to about 1/8 inch below the finished surface level.
Again, let it cure slowly. Mist it down if the weather is hot or windy. In Florida’s summer heat, that’s basically every day from May through September.
Step 7 — The Finish Coat and Texture Matching
This is the step that separates a patch that disappears from one that looks like a Band-Aid on your house forever. Texture matching is genuinely the hardest part of stucco patching, and it takes some practice to get right.
Once your brown coat has cured, apply a thin finish coat and immediately work the texture to match your existing wall. Common stucco textures include:
| Texture Type | Application Method | Difficulty Level |
|---|---|---|
| Sand / Float Finish | Circular motion with a foam float | Moderate |
| Dash / Splatter Finish | Flicked or sprayed on | Moderate–High |
| Skip Trowel | Trowel applied in irregular passes | High |
| Smooth Finish | Steel trowel, multiple passes | High |
| Spanish Lace | Dash coat + skip trowel over it | High |
Study the texture on your existing wall closely. If it’s a float finish, use a foam float and work in the same circular motion across the patch while the material is still plastic. If it’s a dash texture, load a brush with mix and flick it onto the surface in small splatters to match the existing pattern.
Even when the texture matches well, fresh stucco will look lighter than the surrounding wall. That color difference typically fades as the patch cures and weathers — but in many cases, painting the entire wall section is the cleanest solution for a seamless result.
Common Mistakes That Cause Patches to Fail
Knowing what not to do is just as useful as knowing the process itself. Here are the most frequent missteps:
- Skipping the bonding agent. The patch bonds to the bonding agent, not directly to the old stucco. Don’t skip it.
- Applying too thick in one coat. Stucco shrinks as it cures. Thick single-coat applications crack. Layer it.
- Not removing all the loose material. Patching over soft or hollow stucco just delays the problem by a season or two.
- Letting the patch dry too fast. Mist it. Shade it if you can. Slow curing = stronger stucco.
- Ignoring the water source. A patch without fixing the underlying cause of moisture intrusion is temporary at best.
When the Damage Is Too Widespread for a Patch
There’s a real decision point in stucco repair — patch or resurface. If the damaged areas cover more than 25% to 30% of a wall, or if the damage is scattered across the entire exterior in small spots, patching each one individually often costs more in the long run than a full resurfacing job.
Resurfacing applies a new finish coat over the entire surface, unifying the texture and color while sealing the existing wall beneath. It’s particularly effective when stucco has multiple hairline cracks, general weathering, or texture inconsistencies from previous repairs. Understanding the cost difference between stucco patching and reskinning helps you make the smarter financial call before you start writing checks.
Climate Considerations for Southwest Florida
Stucco repair in Naples, Fort Myers, Cape Coral, and the surrounding coastal communities comes with unique challenges that most general guides don’t account for.
High humidity slows surface drying but doesn’t slow the internal chemical curing process — which means stucco can feel dry on the outside while still curing underneath. Don’t rush to paint or finish.
Salt air near the coast accelerates corrosion of metal lath. If you’re working in Fort Myers Beach, Estero, or anywhere close to the Gulf, inspect exposed lath carefully and treat it with a rust-inhibiting primer before applying new stucco over it.
Hurricane season brings intense rain and wind-driven moisture. Any unrepaired crack or gap in stucco becomes a direct water entry point during a storm. Getting repairs done before peak storm season — typically June through November — is worth prioritizing.
When to Call a Professional
DIY stucco patching works well for isolated damage under about a square foot in area, surface-level cracks, and situations where you’re comfortable with the texture matching process. Beyond that, the risk of doing more harm than good increases quickly.
Call a professional when you see diagonal structural cracks, when the stucco feels hollow across a large section, when you suspect water damage has reached the sheathing or framing, or when multiple repairs have already been attempted and the damage keeps returning.
Cousins Stucco serves Naples, Bonita Springs, Fort Myers, Fort Myers Beach, Estero, Cape Coral, Lehigh Acres, Punta Gorda, Port Charlotte, and the broader Southwest Florida region. Their team handles everything from small stucco repair jobs to full commercial resurfacing and EIFS work — with texture matching that actually holds up under inspection.
Conclusion
Patching stucco is absolutely something a capable homeowner can handle when the damage is limited and the cause is clear. The process comes down to removing the bad material completely, building the patch in proper layers, curing it slowly, and matching the texture as closely as possible. Every shortcut you skip and every step you take seriously adds years to how long that patch lasts.
If the damage is extensive, recurring, or tied to water intrusion you can’t fully trace, don’t guess your way through it. The cost of getting professional help is almost always less than the cost of fixing a failed DIY repair — especially in Florida’s unforgiving climate.
Frequently Asked Questions
How long does a stucco patch take to cure before painting?
Standard stucco patches need at least 28 days to fully cure before painting. In Southwest Florida’s heat and humidity, keep the patch lightly misted during the first few days to prevent cracking from rapid surface drying.
Can I patch stucco myself or do I need a contractor?
Small cracks and isolated holes under a square foot are manageable DIY projects if you have the right materials and patience. Larger damage, structural cracks, or water intrusion issues are better handled by a professional stucco contractor.
Why does my stucco patch look different from the rest of the wall?
Fresh stucco cures lighter than aged, weathered stucco. The color difference usually reduces over several months. For an immediate visual match, painting the entire wall section is the most reliable solution.
How do I know if my stucco damage is structural?
Diagonal cracks running from corners of windows or doors, wide gaps (over 1/4 inch), or cracks that keep reopening after repair can signal structural issues. Those require a professional evaluation before any surface work begins.
What’s the difference between stucco patching and stucco resurfacing?
Patching addresses specific damaged spots. Resurfacing applies a new finish coat over the entire wall surface, which is more effective when damage is widespread or the existing surface has become inconsistent from age and previous repairs.
Ready to stop guessing and get your stucco repaired the right way? Contact Cousins Stucco today for a professional assessment and a straightforward quote from a team that knows Southwest Florida homes inside and out.