
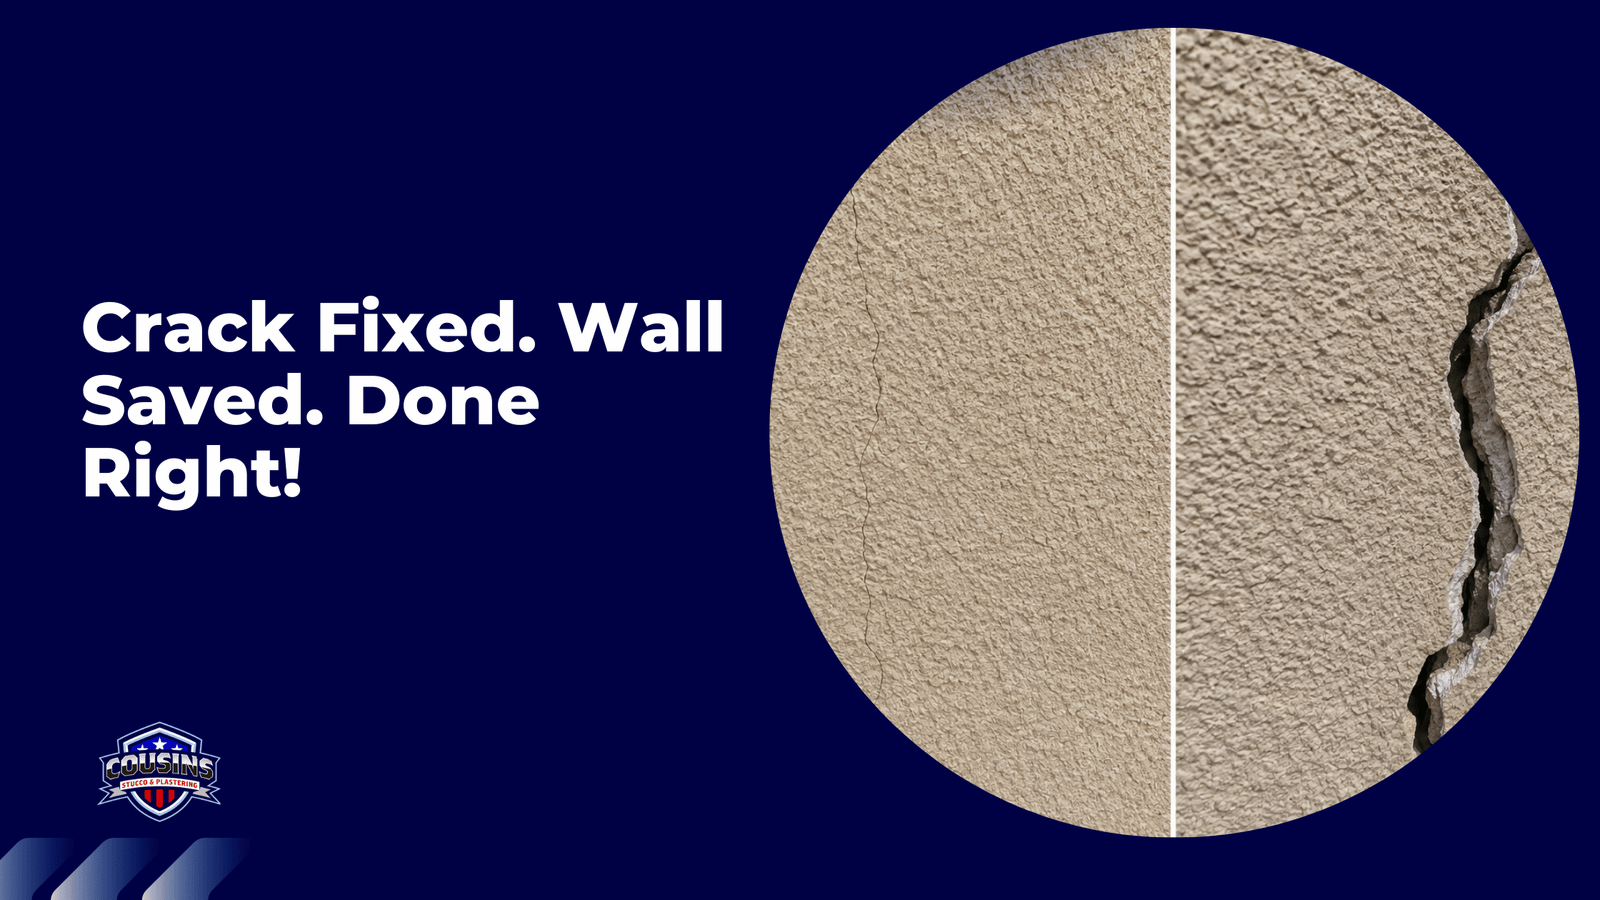
Stucco is one of the most durable exterior finishes you can put on a home — but it’s not invincible. If you’ve noticed cracks running across your walls, you’re not alone. Whether you’re dealing with a hairline fracture or a wide, jagged gap, knowing how to repair stucco cracks correctly can save you from serious water damage, mold problems, and costly structural repairs down the line.
This guide walks you through everything — from diagnosing the type of crack you’re dealing with, to mixing the patch, to blending the texture so the repair becomes virtually invisible.
Why Stucco Cracks in the First Place
Before you grab a trowel, it’s worth understanding what caused the crack. Not all stucco damage is the same, and treating the symptom without addressing the root cause is a recipe for repeat repairs.
The most common culprits behind stucco cracking include:
- Thermal expansion and contraction — In climates like Southwest Florida, the heat cycle causes materials to expand and contract constantly. Over time, this stress fractures the finish coat.
- Settlement movement — As a home settles into its foundation, the walls shift slightly. Stucco, being rigid, cracks under that movement.
- Moisture infiltration — Water that gets behind the stucco layer expands when it heats, pushing the finish coat outward until it gives.
- Impact damage — A ladder, a lawnmower, a hurricane-driven branch — physical impact leaves visible cracks fast.
- Poor original installation — If the mix ratio was wrong, the curing was rushed, or the lath backing wasn’t properly prepared, cracking is almost inevitable.
If you want a deeper understanding of what’s driving the damage on your specific property, this breakdown of why stucco cracks in Southwest Florida covers the regional factors in detail.
Hairline vs. Structural: Know What You’re Dealing With
This is the most important distinction in stucco repair, and skipping it is where most DIYers go wrong.
Hairline cracks are surface-level fractures, usually less than 1/16 of an inch wide. They’re common, they’re mostly cosmetic, and they’re manageable with the right materials and technique.
Structural cracks are wider, deeper, often diagonal, and sometimes accompanied by bulging or separation of the stucco from the wall. These aren’t a DIY project — they signal something is happening underneath the finish coat that needs professional evaluation.
| Crack Type | Width | Depth | DIY-Appropriate? | Common Cause |
|---|---|---|---|---|
| Hairline | < 1/16″ | Surface only | Yes | Shrinkage, thermal expansion |
| Pattern Cracking | 1/16″ – 1/8″ | Finish coat | Sometimes | Poor mix, substrate movement |
| Wide / Structural | > 1/8″ | Through stucco layer | No | Foundation shift, moisture damage |
| Stair-Step Cracks | Varies | Deep | No | Structural movement |
If you’re not sure which category your crack falls into, a professional assessment is worth every penny. The team at Cousins Stucco handles stucco crack repair across Naples, Fort Myers, Cape Coral, and the broader Southwest Florida region — and they can tell you exactly what you’re looking at.
Tools and Materials You’ll Need
Getting the materials right upfront avoids multiple trips to the hardware store. Here’s what to have on hand before you start:
For hairline cracks:
- Stucco elastomeric caulk or pre-mixed stucco patch compound
- Wire brush or crack chaser blade
- Shop vacuum or compressed air
- Painter’s tape
- Sponge and bucket of water
- Stucco texture spray or brush (for matching finish)
- Exterior-grade primer
- Matching exterior paint
For moderate cracks:
- All of the above, plus:
- Pre-mixed stucco repair mortar or bagged stucco mix
- Margin trowel and finishing trowel
- Bonding adhesive (acrylic bonding agent)
- Fiberglass mesh tape
For deep or wide cracks:
- Metal lath or fiberglass mesh
- Base coat stucco mix
- Finish coat stucco mix
- Hawk and trowel set
- Spray bottle for misting
Step-by-Step: How to Repair Hairline Stucco Cracks
This method works well for surface-level cracks that haven’t penetrated through the full stucco thickness.
- Clean the crack thoroughly. Use a wire brush to scrub out loose material, dust, and old paint. Run a shop vacuum along the crack to pull debris out of the gap. Any loose material left inside will prevent the patch from bonding.
- Widen the crack slightly if needed. This sounds counterintuitive, but a crack that’s too thin won’t hold patch material well. Use a crack chaser blade or angle grinder with a diamond blade to open it to at least 1/8 of an inch. This creates a mechanical key for the filler.
- Apply a bonding agent. Brush or spray a thin layer of acrylic bonding adhesive into the crack and onto the surrounding surface. Let it become tacky — usually 10 to 15 minutes.
- Fill the crack. Use a pre-mixed stucco patch compound or elastomeric caulk rated for masonry. Work it into the crack using a putty knife or margin trowel, pressing firmly to eliminate air pockets. Overfill slightly — you’ll tool it flush once it firms up.
- Tool it flush. Once the material starts to set (check manufacturer guidelines — usually 20 to 40 minutes), use a damp trowel or putty knife to scrape it flush with the surrounding wall.
- Match the texture. This is where most DIY repairs become visible. Stucco comes in dozens of textures — sand, float, dash, skip, and more. Experiment with sponges, brushes, or spray texture products to replicate the original finish. Test on a scrap piece of board first.
- Prime and paint. Once cured (typically 24–48 hours), apply an exterior primer, then two coats of paint matched to the existing wall color.
“The texture match is where 90% of visible stucco repairs fail. Getting the fill right is only half the job — blending into the surrounding finish is the real craft.”
Step-by-Step: Repairing Moderate to Deep Stucco Cracks
When a crack has worked its way into the base coat or scratch coat, you need a more involved approach.
- Cut out the damaged area. Using a circular saw with a masonry blade or an angle grinder, cut a clean perimeter around the damaged section — at least 2 inches beyond the visible cracking. Jagged, uncontrolled removal leaves weak edges that fail again quickly.
- Remove loose stucco. Use a cold chisel and hammer to chip away the stucco within your cut lines. You should be able to see the lath or substrate beneath.
- Inspect the lath and weather-resistant barrier. Check that the metal lath or fiberglass mesh isn’t corroded or damaged, and confirm the WRB (water-resistant barrier) behind it is intact. If either is compromised, repair it before applying any stucco. This is a critical step that gets skipped constantly.
- Install new mesh if needed. Cut a piece of metal lath or fiberglass mesh to fit the void and fasten it to the wall framing or existing lath using roofing staples or self-tapping screws. Overlap existing lath by at least 1 inch.
- Apply the scratch coat. Mix your base coat stucco to a peanut butter consistency and trowel it into the repair area, pressing it firmly against the mesh. Score horizontal grooves into the surface with a scarifier tool — this creates mechanical adhesion for the next coat. Let it cure 48 hours.
- Apply the brown coat. Mix and apply a second layer, bringing the surface to within 1/8 inch of the surrounding wall surface. Float it smooth and let cure another 24–48 hours.
- Apply the finish coat. Mix your finish coat stucco and apply it to match the depth and texture of the surrounding wall. Blend the edges carefully. The finish coat is thin — usually 1/8 inch — and it sets fast, so work in manageable sections.
- Cure, prime, and paint. Lightly mist the repair with water for 24 hours to slow curing and reduce shrinkage cracking. Once fully cured, prime and paint.
Texture Matching: The Hardest Part Nobody Talks About
You can fill a crack perfectly and still end up with a repair that looks like a patch from 20 feet away. Texture matching is genuinely difficult, and it’s one of the main reasons homeowners eventually call a professional.
Common Florida stucco textures include:
- Sand finish — Fine-grained, relatively smooth, applied with a float
- Float finish — Slightly coarser, achieved by floating the wet finish coat in circular motions
- Dash finish — Rough, spattered look created by throwing or spraying mix at the wall
- Skip trowel / knockdown — Random, layered pattern applied by hand with varying trowel pressure
The challenge is that existing stucco has weathered — it’s lost sharpness, picked up oxidation, and absorbed years of UV fading. A fresh texture patch will almost always look brighter and crisper than the surrounding surface until the paint is applied and weathered.
If your home has hairline stucco cracks or more complex structural damage, a professional contractor can often make repairs that blend seamlessly — because they carry the experience to recreate specific textures and know exactly which mix ratios produce which results.
When to Stop DIYing and Call a Pro
There’s no shame in recognizing when a repair is beyond what’s reasonable to tackle yourself. Here are the clear signs that you need professional help:
- Cracks wider than 1/8 inch or growing visibly over time
- Diagonal cracks running from window or door corners
- Stucco that sounds hollow when tapped (delamination)
- Any visible bulging or separation from the wall
- Cracks accompanied by water stains or interior moisture
- Large repair areas where texture matching is critical to curb appeal
- EIFS (synthetic stucco) systems, which have their own repair protocols
In Southwest Florida, the combination of heat, humidity, and hurricane-season wind loads puts stucco under exceptional stress. What starts as a small crack can become a significant water intrusion point within a single rainy season.
Preventing Future Cracks
Once you’ve made your repair, a little maintenance goes a long way toward keeping new cracks from forming.
- Inspect your stucco every spring and fall. Catch hairline cracks before they grow. A walk around the exterior with fresh eyes twice a year is the most effective preventive measure you can take.
- Caulk around windows, doors, and penetrations. These are the highest-risk points for water entry. Replace deteriorated caulk every few years.
- Keep landscaping away from the walls. Shrubs and irrigation spray that contact your stucco introduce constant moisture — a guaranteed long-term problem.
- Repaint on schedule. Exterior paint acts as a protective membrane over stucco. Once it starts peeling or chalking, the stucco beneath becomes vulnerable.
- Address drainage issues promptly. Gutters that overflow, downspouts that drain against the foundation, or grade that slopes toward the house will push water into your stucco system repeatedly.
If you’re in Naples, Bonita Springs, Fort Myers, Cape Coral, Estero, or anywhere across Southwest Florida and want a professional set of eyes on your exterior, reach out to Cousins Stucco for an honest evaluation.
Conclusion
Stucco crack repair is absolutely manageable as a DIY project — when you’re dealing with hairline or surface-level damage, have the right materials, and take the time to match the texture properly. The process has layers, literally and figuratively, and each one matters.
What trips people up most often isn’t the filling — it’s skipping the diagnostic step and not understanding what type of crack they’re actually dealing with. A hairline crack treated as cosmetic when it’s actually signaling substrate movement is money wasted and damage compounded.
Do the job right the first time: clean the crack, prep the surface, use the correct materials for the depth of damage, and invest the extra effort in texture matching. Your stucco will reward you with years of durability.
And if what you’re looking at is bigger, spreading, or accompanied by any kind of moisture, don’t guess — get it professionally evaluated before the next rainy season turns a repair into a restoration.
Frequently Asked Questions
Can I repair stucco cracks myself, or do I need a professional?
You can handle hairline and surface cracks yourself if you’re comfortable with basic DIY work and have the right materials. Anything wider than 1/8 inch, showing signs of structural movement, or requiring complex texture matching is better left to a licensed stucco contractor.
What is the best product for filling stucco cracks?
For hairline cracks, elastomeric stucco caulk or pre-mixed stucco patch compound works well. For deeper cracks, use a multi-coat system with a bonding agent, base coat stucco, and a matched finish coat. The product you choose should match the original stucco system — traditional or EIFS.
How long does a stucco crack repair last?
A properly executed repair — with correct surface prep, appropriate materials, and a quality finish — can last 10 to 20 years. Repairs that skip bonding agents, use mismatched materials, or don’t address the underlying cause of cracking will fail much sooner.
Will the repaired area match my existing stucco color and texture?
It’s difficult to achieve a perfect match immediately, especially if the surrounding stucco has weathered. Fresh repairs will look brighter. Priming and painting the entire wall (or at least the entire facade section) after repair gives the most uniform result. Professional contractors with texture-matching experience can get very close on older homes.
How do I know if a stucco crack is structural?
Structural cracks are typically wider than 1/8 inch, diagonal, located near window or door openings, growing over time, or accompanied by hollow-sounding stucco, interior moisture, or visible separation. If any of those signs are present, have the wall evaluated by a professional before attempting any repair.